Measurement notes are most helpful when another person can tell exactly what was measured, where the measurement began, and why it matters. A list of numbers without labels can create more confusion than no measurements at all. For small home tasks, a simple sketch and a few clearly named dimensions provide a dependable starting point while leaving final verification to the person performing the work.
Label Every Dimension
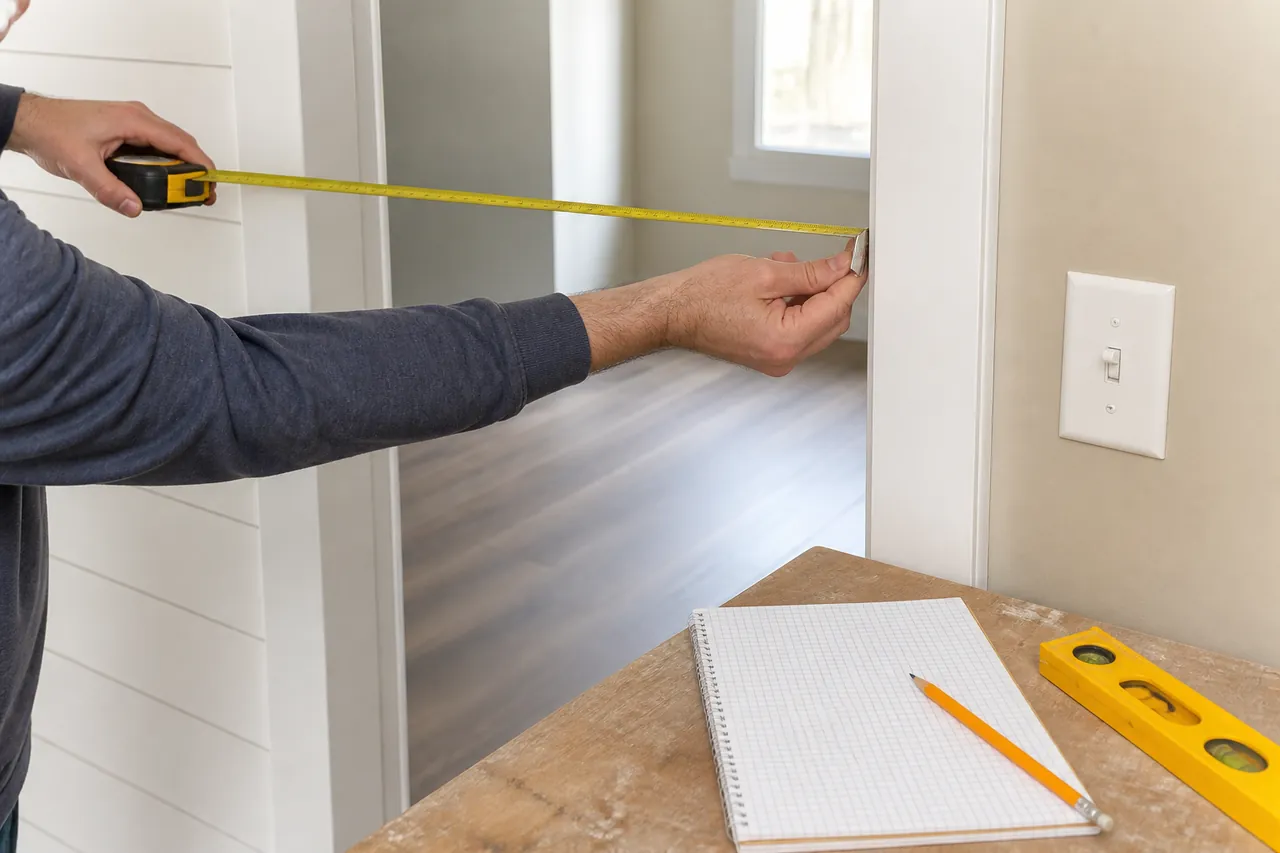
Write the item, direction, and reference points beside each number. Instead of “36 inches,” record “inside width between the two cabinet sides” or “floor to underside of shelf.” Distinguish overall width from opening width, and note whether trim, hinges, handles, or other projections reduce usable clearance.
Use one unit system consistently within the note. Record the actual reading rather than rounding to what seems like a standard size. If an edge is damaged, irregular, or out of square, say where the measurement was taken. A small diagram with arrows can show reference points more reliably than a paragraph.
Measure the Opening and the Product Separately
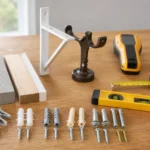
When a task involves installing a purchased item, keep product dimensions separate from property dimensions. Record the opening or mounting area first. Then copy the product’s stated overall size, required clearances, mounting pattern, and weight from its instructions or packaging. Do not assume that matching width and height establish compatibility.
Hardware, support, connections, swing, ventilation, and service access can all affect fit. A wall-mounted fixture may need backing or a suitable anchor method. A replacement cabinet component may need room for hinges and full travel. Anything connected to electricity, water, gas, or a structural assembly requires evaluation beyond a homeowner’s preliminary measurements.
Include Depth, Projection, and Movement
Width and height are only part of many installations. Note available depth inside an opening and how far the product will project into the room. Show nearby doors, drawers, windows, switches, trim, and walking paths. If an item moves, record the space it needs through its normal range without forcing it.
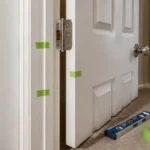
For a sticking door or misaligned drawer, measurements may help describe the pattern, but do not treat small variations as a diagnosis. A gap can change because of hardware, load, moisture, movement in surrounding materials, or several conditions together. Photograph the complete assembly and let the on-site review determine which dimensions matter.
Record How the Measurement Was Taken
Add a date and identify the tool used when precision matters. Note whether carpet, caulk, damaged edges, or an uneven surface affected the reading. If two measurements disagree, keep both and explain their locations instead of averaging them. That difference may be useful evidence.
Avoid reaching near live equipment, climbing on improvised supports, or removing installed materials to reach a concealed edge. Mark any inaccessible dimension as “to be verified on site.” Preliminary notes should make planning safer, not create a new repair.
Before sharing the measurements, pair them with a labeled wide photograph and a simple sketch. Ask the handyman to confirm critical dimensions before products are ordered, cut, or installed. Clear notes narrow the questions, while final responsibility for fit and method remains with the person who can inspect the actual conditions.