Drywall repair looks straightforward until the surrounding conditions, texture, and finishing expectations are considered. A good request begins by explaining what damaged the surface, whether that cause has been addressed, and what result is expected. Patching over an active moisture problem or repeated movement may hide evidence without producing a durable repair.
What Caused the Damage?
Describe when the opening, crack, dent, or stain first appeared. Note recent plumbing work, fixture removal, impact, roof or window leakage, or movement around a door or ceiling joint. If moisture is present now, stop treating the task as a cosmetic patch. The source and affected materials need appropriate evaluation before the wall is closed.
Photograph the entire wall or ceiling and then the damaged area. Include nearby corners, trim, fixtures, and seams. Do not enlarge the opening, probe inside the cavity, or disturb material that may require special handling. Older or unknown finishes can change preparation and containment decisions.
What Surface and Texture Must Be Matched?
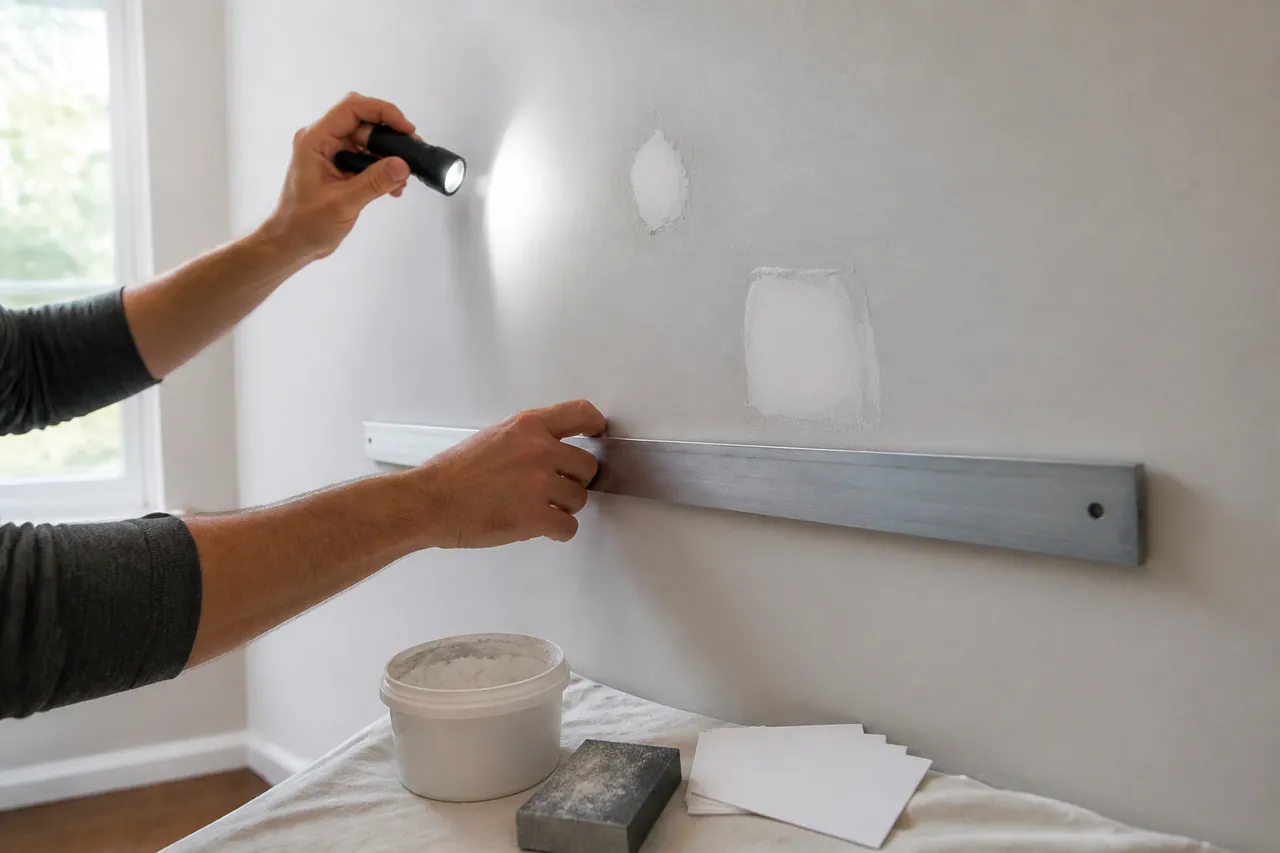
Identify whether the surface is a wall or ceiling and whether it is flat, curved, or near an outside corner. Look at the surrounding finish in angled light. Smooth drywall, light spray texture, heavier texture, and hand-applied patterns require different finishing steps. Exact blending can also depend on previous repairs and layers of paint.
State whether the scope is limited to closing and finishing the damaged area or includes priming and painting. These are separate stages. A patch that is ready for primer is not the same as a fully repainted wall. If painting is included, discuss whether only the repair area, one wall, or a larger connected surface is intended. Color information alone may not account for sheen, age, fading, or application differences.
What Is Behind and Around the Opening?
Mention nearby outlets, switches, plumbing fixtures, vents, cabinets, or mounted items. Do not assume the cavity is clear because no connection is visible on the surface. A handyman must understand where safe fastening and backing may be possible and whether another trade should inspect concealed utilities.
Access matters as well. Note ceiling height, stairs, furniture, flooring, occupied areas, and dust-sensitive belongings. Discuss how the work area can be cleared and isolated. Sanding and removal may spread fine dust, so protection and cleanup should be part of the written scope rather than an afterthought.
How Will Completion Be Evaluated?
Ask how flatness, texture transition, primer coverage, paint limits, and cleanup will be reviewed. Strong side light can reveal normal variations that are less visible under ordinary room lighting, so expectations should be discussed before work begins. Record any existing dents, seams, or finish differences outside the repair area.
Also record whether the room must remain in use during the project. Drying time, furniture placement, ventilation, and access may influence how the repair stages are scheduled.
The most useful drywall request separates the cause, patch, texture, primer, and paint. It also names unresolved moisture or concealed-condition questions. With those boundaries clear, the on-site assessment can define a realistic repair instead of quietly expanding a small patch into unrelated wall work.