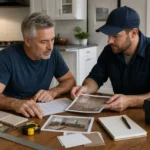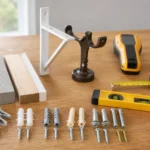
Photographs can make a small home-repair request much clearer, but only when they show location, scale, material, and access. A close-up of a crack or loose fitting may capture detail while hiding where the problem sits. A single wide photo may show the room but not the condition. A short, deliberate photo set usually communicates more than a large folder of unlabeled images.
Begin With an Establishing View
Take the first photograph from far enough away to show the item in its surroundings. For a damaged section of trim, include the nearby doorway, corner, or floor line. For a wall-mounted accessory, show the wall area, adjacent fixtures, and available working space. The goal is to help the service provider locate the task without guessing which surface or object is involved.
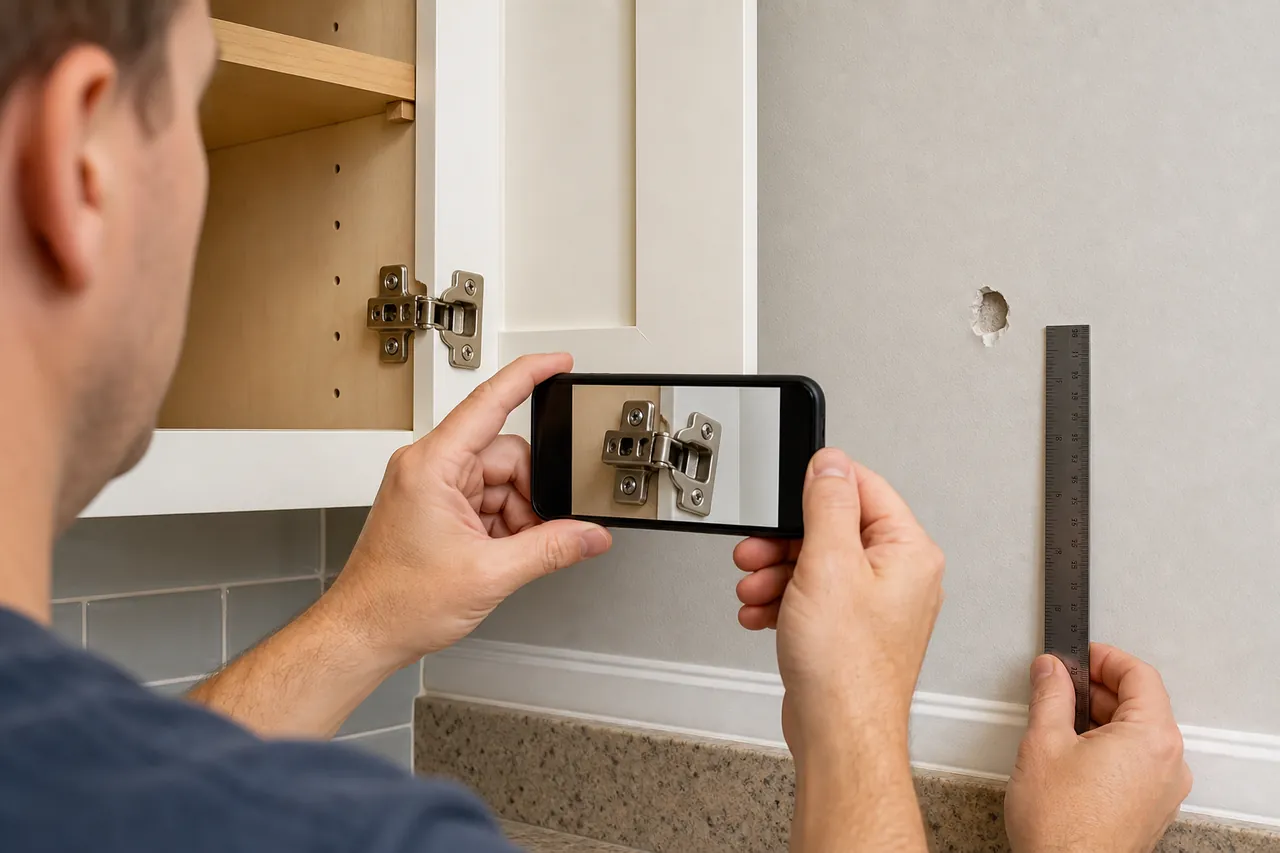
Next, take a closer image of the visible condition. Keep the camera square to the surface when shape or alignment matters. If size is difficult to judge, place a ruler near the area without covering it. Do not use an object of unknown dimensions as the only scale reference.
Capture Materials and Connections
Photograph edges, seams, profiles, and transitions that may affect the work. A trim repair can depend on the shape of the molding and how it meets adjacent pieces. A shelf or fixture installation can depend on the wall material, bracket design, and nearby obstructions. If a manufacturer label is visible without disassembly, include a readable image of the model information.
Show existing fasteners or connections only from a normal, safe viewing position. Do not remove electrical covers, open plumbing connections, loosen mounted objects, climb onto unstable furniture, or pull damaged materials away simply to improve a photograph. If a condition cannot be documented safely, describe it in writing and leave it for an on-site assessment.
Show Access and Clearance
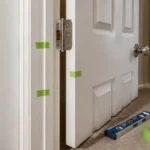
A wider access photo can answer questions that the repair close-up cannot. Include the route from the nearest entry, floor space around the work area, ceiling height when relevant, and objects that cannot easily be moved. For a door task, photograph the full door and frame from both sides if possible. For cabinet or furniture work, show how doors and drawers open and what limits movement.
When normal operation reveals the concern, a brief video may be more useful than repeated still images. Record from a safe distance and stop if operation could worsen damage or create a hazard. Never recreate a leak, force a sticking component, or repeatedly operate unstable hardware for documentation.
Label the Photo Set
Name each group by room and task: “Hall bath—loose towel bar” is better than a sequence of default camera filenames. Add the date and a sentence explaining what changed. If several areas look similar, mark them on a simple room sketch or number them in the task list.
Finish with the desired outcome, not a diagnosis. You might want an item secured, a damaged surface made ready for finishing, or a replacement product evaluated for installation. Clear photographs help a handyman plan questions and access, while direct inspection still determines the repair method and final scope.